Taping a box may seem like a straightforward task, but doing it properly ensures that your items are securely packaged for shipping or storage. In this blog, we will guide you through the process of properly taping a box, ensuring its stability and protection. Whether you're moving to a new home, sending a package, or organizing your belongings, these steps will help you achieve professional-level results.
Published: June 15, 2023
Taping a box may seem like a straightforward task, but doing it properly ensures that your items are securely packaged for shipping or storage. In this blog, we will guide you through the process of properly taping a box, ensuring its stability and protection. Whether you’re moving to a new home, sending a package, or organizing your belongings, these steps will help you achieve professional-level results.
Before you start taping, make sure you have the appropriate box for your needs. The box should be sturdy and of the right size to accommodate the items you want to pack. Avoid using damaged or weak boxes, as they may compromise the integrity of the packaging.
Fold the bottom flaps of the box inward, ensuring that they overlap in the middle. This creates a solid base for your items and prevents them from falling through the bottom during transit.
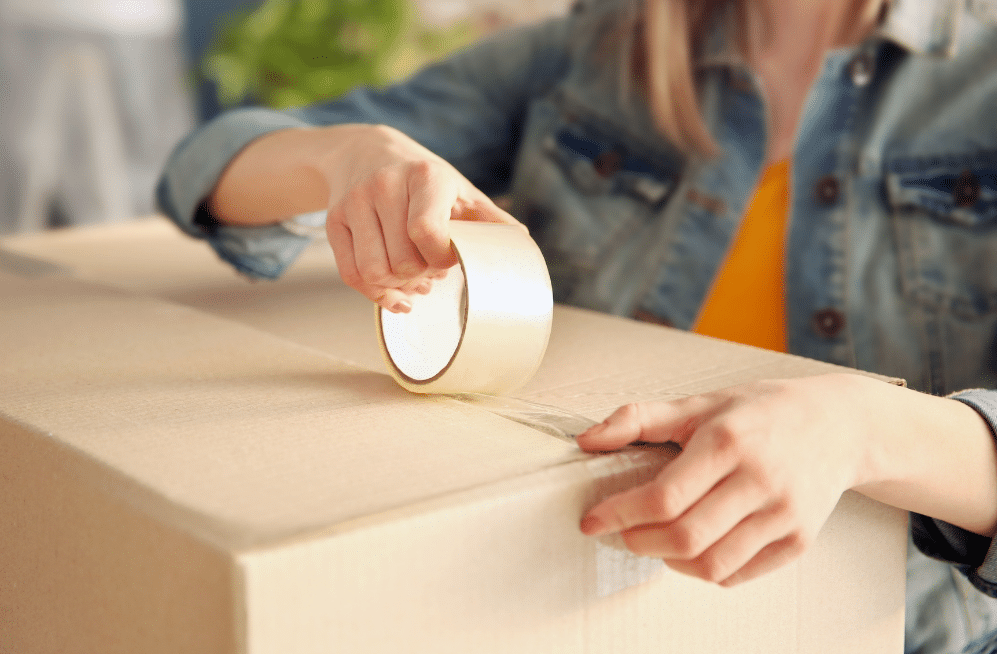
Using packing tape, seal the bottom flaps of the box with a single strip of tape along the seam. Place the tape so that it covers the entire width of the seam, making sure it adheres to the box. Leave a few inches of tape extending beyond the box on either side to make it easier to handle.
For added strength, apply a second strip of tape along the seam, perpendicular to the first one. This “H” or “+” shape provides extra support and prevents the box from coming apart under pressure. Again, ensure that the tape adheres firmly to the box surface.
Carefully place your items into the box, making sure they are properly cushioned with packing materials if necessary. Leave enough space at the top to fold and seal the flaps without compressing the contents.
Fold the top flaps of the box inward, similar to the bottom flaps. Ensure that they overlap in the middle, creating a solid seal.
Apply tape along the seam of the top flaps, using the same technique as in Step 3. Start with a single strip of tape and extend it slightly beyond the edges of the box. This ensures a secure hold and prevents the flaps from opening during transit.
As you did with the bottom of the box, apply a second strip of tape along the seam, perpendicular to the first one. This additional layer of tape provides extra security, minimizing the risk of the box opening during handling.
For particularly heavy or fragile items, you may want to add an extra strip of tape along each side of the box where the flaps meet the sides. This reinforces the corners and adds further stability to the package.
Properly taping a box is an essential step in ensuring the safety and security of your items during transportation or storage. By following these step-by-step instructions, you can master the art of box taping and achieve professional-level results. Remember to choose a sturdy box, secure the bottom and top flaps with overlapping tape, and reinforce the corners if needed. With these techniques, you can confidently package your belongings and have peace of mind knowing that they are well-protected. For more information or for help with moving or storing your belongings, visit UNITS Moving and Portable Storage of Greenville or give us a call at (864) 214-3340.
Call
Our local owners and managers are ready to assist you in what you’ll soon be calling your easiest move yet. Get started today by filling out our online quote form.